In this article, you will learn about WordPress Studio installation and how to use it for website design on a local desktop.
WordPress Studio is a valuable tool for website design because it will help you build the website, prepare the demo structure, and understand any technical issues without even making the website live.
What Is WordPress Studio?
WordPress Studio is a desktop program that you can use to design websites locally on your computer or laptop.
Here are a few more things that you should know about WordPress Studio:
- It’s available for both Windows and Mac.
- It has a free version that allows you to design websites and a paid version that gives you other unlimited features.
- If beginners want to learn how to create a WordPress website, they can practice on this platform without purchasing a server or domain name.
- A cool feature of this is that you can share your project with anyone, just with the help of a link.
Why You Should Use WordPress Studio
It is a quick and advanced local WordPress development tool. Many successful businesses are using WordPress, such as Sony Music, TitchCrunch, Sunn Press Room, and The New York Times Company.
If you use this, you can create a website for free on your local PC, so you will not need to buy any server or domain name. And there will be no need to configure too much technicality, like a database.
In WordPress Studio, you can create small to large websites, from an e-commerce platform to a dynamic site.
How to Use WordPress Studio on Your Computer
Setting up WordPress on your local machine allows you to develop and test your website without affecting the live site. Follow these steps to install and use WordPress Studio locally on your desktop:
Step 1: Download and Install WordPress Studio
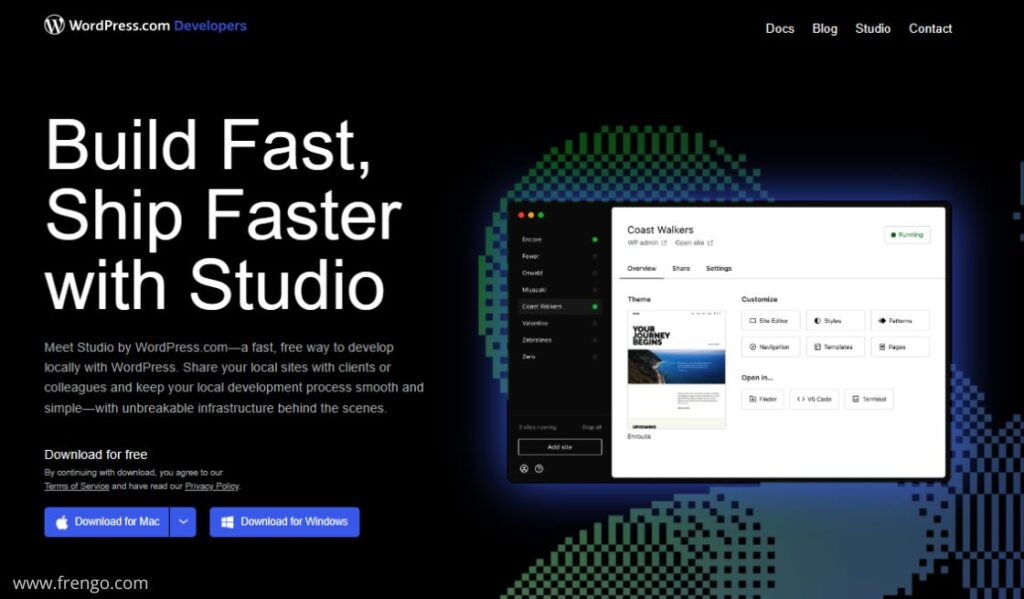
- Visit the WordPress Studio website to download the application.
- Select your computer operating system (Windows or Mac).
- After downloading, run or install it on your desktop or laptop.

Step 2: Set Up Your Local Site
- Open the Studio application.
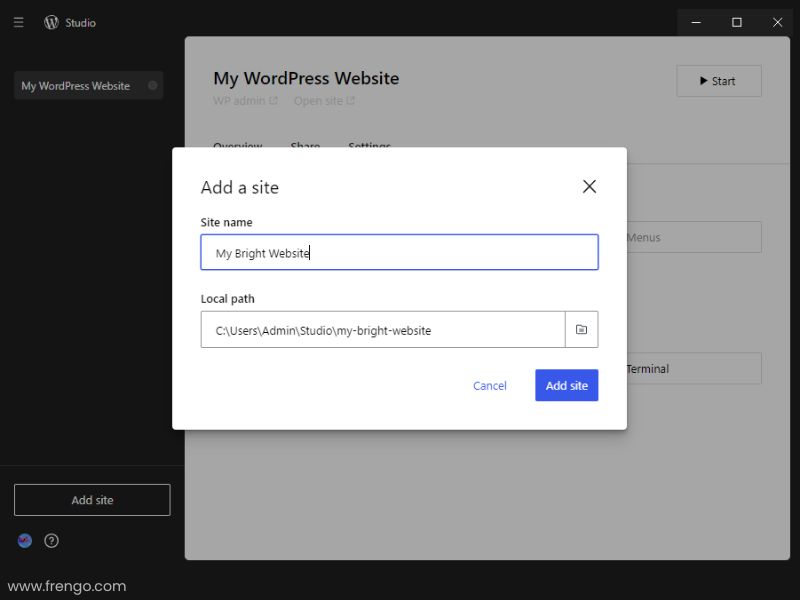
- Click on “Add Site” and follow the prompts to set up your new WordPress site.
- Customize your site’s name, URL, and other settings as needed.


Step 3: Develop Your Site Locally
- Use the built-in tools and features to develop your WordPress site.
- Install themes and plugins, create content, and make design changes—all on your local machine.
- Take advantage of the fast, responsive environment to experiment and refine your site.
Step 4: Share Your Local Site
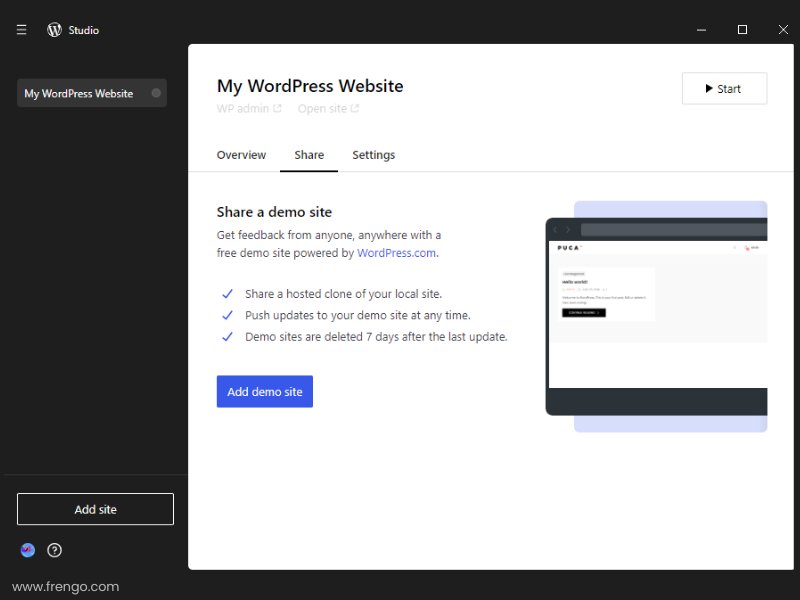
- When you’re ready to share your work, use the sharing features in Studio.
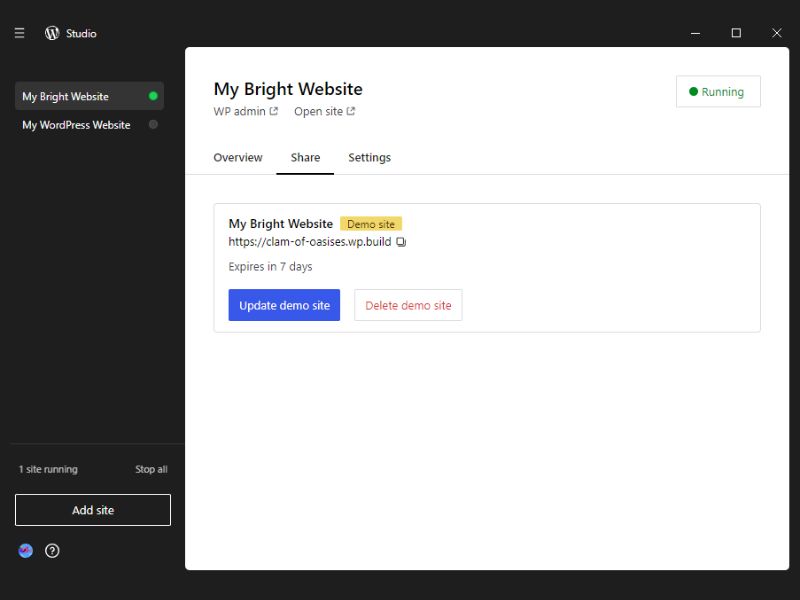
- Generate a link to your local site and share it with clients or colleagues.
- They can view your site in real time and provide feedback.
- You have to keep one thing in mind: the website you have made live in WordPress Studio expires in 7 days but remains on the local computer.


Benefits of WordPress Studio
- Efficiency: Many useful features in website development can speed up the building process and help you avoid troubles.
- Collaboration: Share your website progress and easily get feedback from others.
- Reliability: Reliability begins with confidence in the digital environment in which local development settings have to be built.
- Flexibility: Without any limitations, create and modify your website.
Conclusion
WordPress Studio is one of the best tools that can be used for creating WordPress sites in a local environment. Anyone can use it; it meets these criteria: being free, quick, and simple to use, and having tools that help throughout the process. In WordPress Studio, no matter how experienced or new the developer is, you will get the help you need to build great sites. This is the best time to download Studio and commence working on your next WordPress project with a level of confidence.
Related reading:


